springboot如何整合elasticsearch
目录
- 前言
- 不同方式演示
- 简单看一下
- 集成先决配置
- Spring Data Elasticsearch方式
- ElasticsearchRestTemplate方式
- 总结
前言
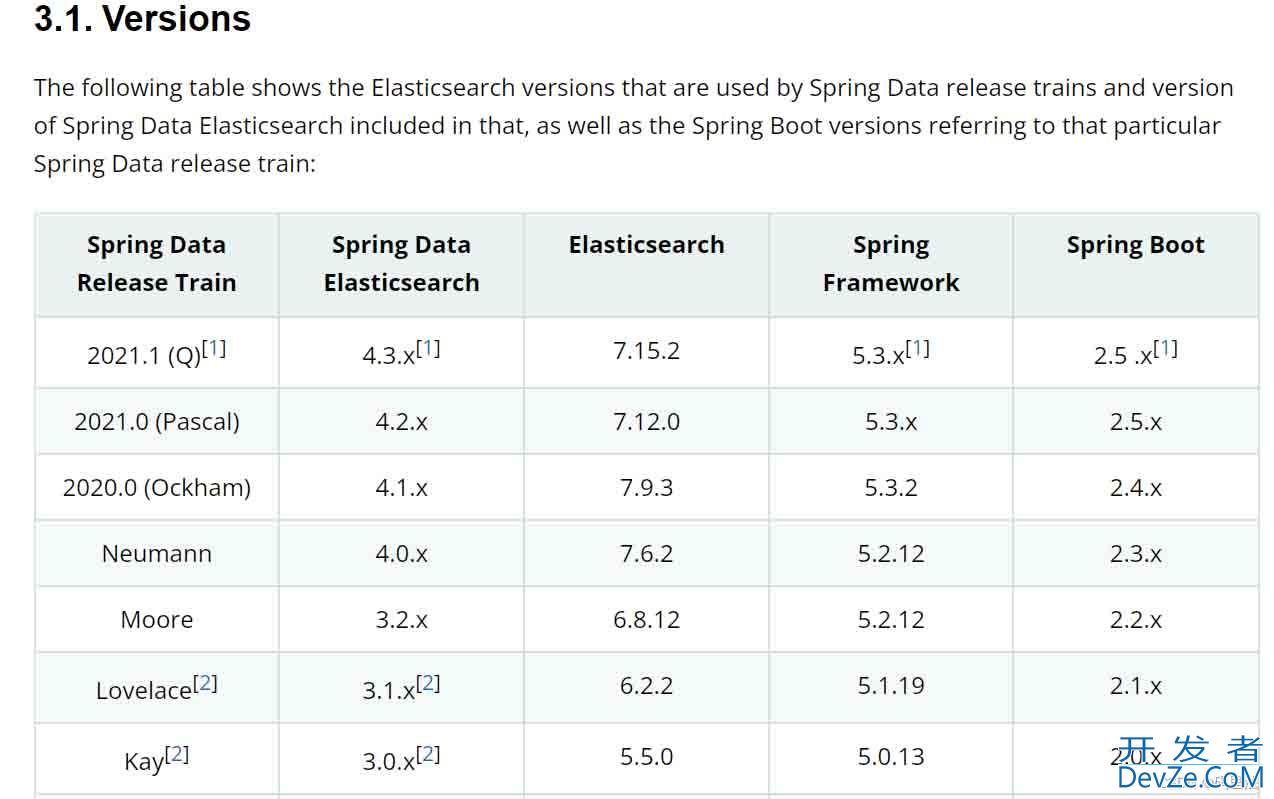
推荐首先查看spring boot对应elasticsearch版本,选择合适的版本整合,推荐以spring boot版本为主,因为项目中集成的框不止是es,根据spring boot去安装对应版本的es。
Spring Data Elasticsearch - 参考文档,这是官方文档,建议一定参照文档,这个文档真的很详细。
另外,springboot操作elasticsearch有两种常用方式:
不管使用哪一种,文章开头的参考文档python地址里边都有详细介绍,可以下载一个浏览器翻译插件,这样看起来更轻松。
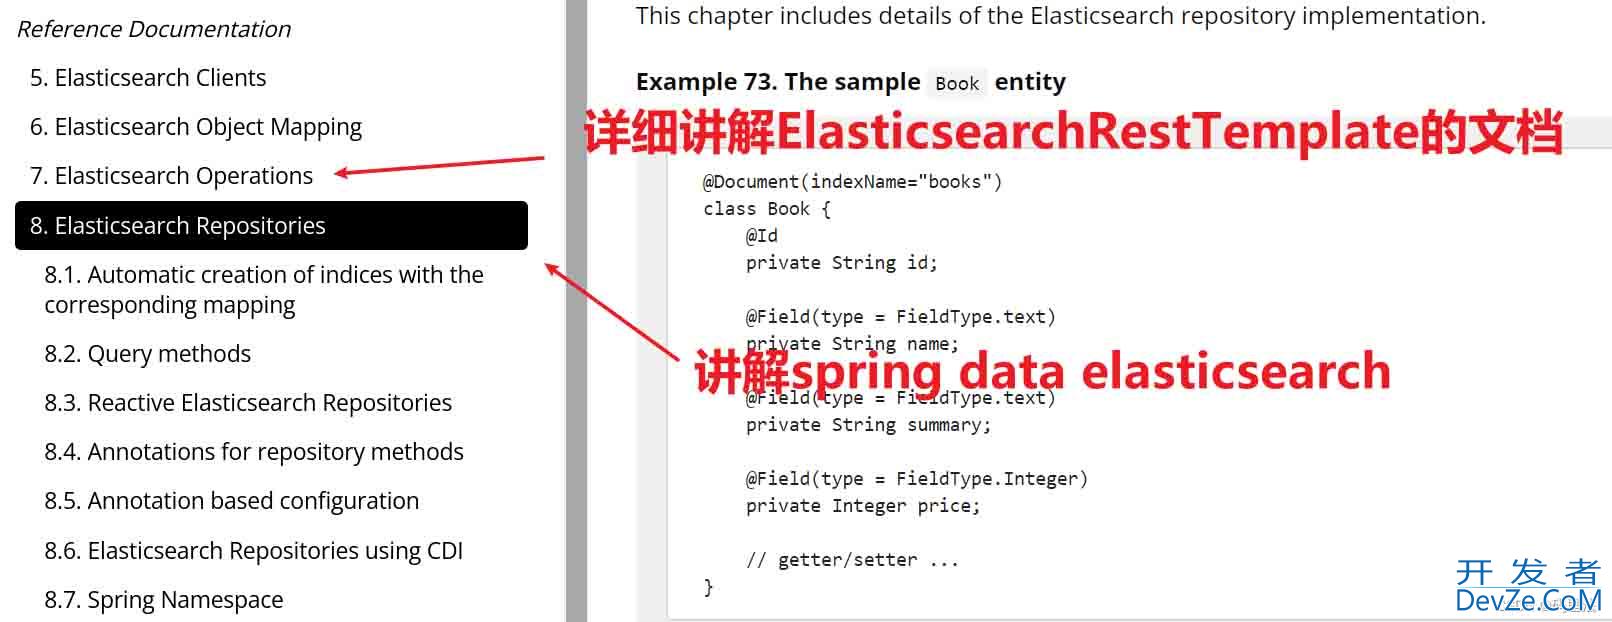
Spring Data Elasticsearch
这是Spring官方最推荐的,就像JPA,MyBATisplus一样,在DAO层继承ElasticsearchRepository接口,就可以使用封装好的一些常见的操作了,用起来简单方便。
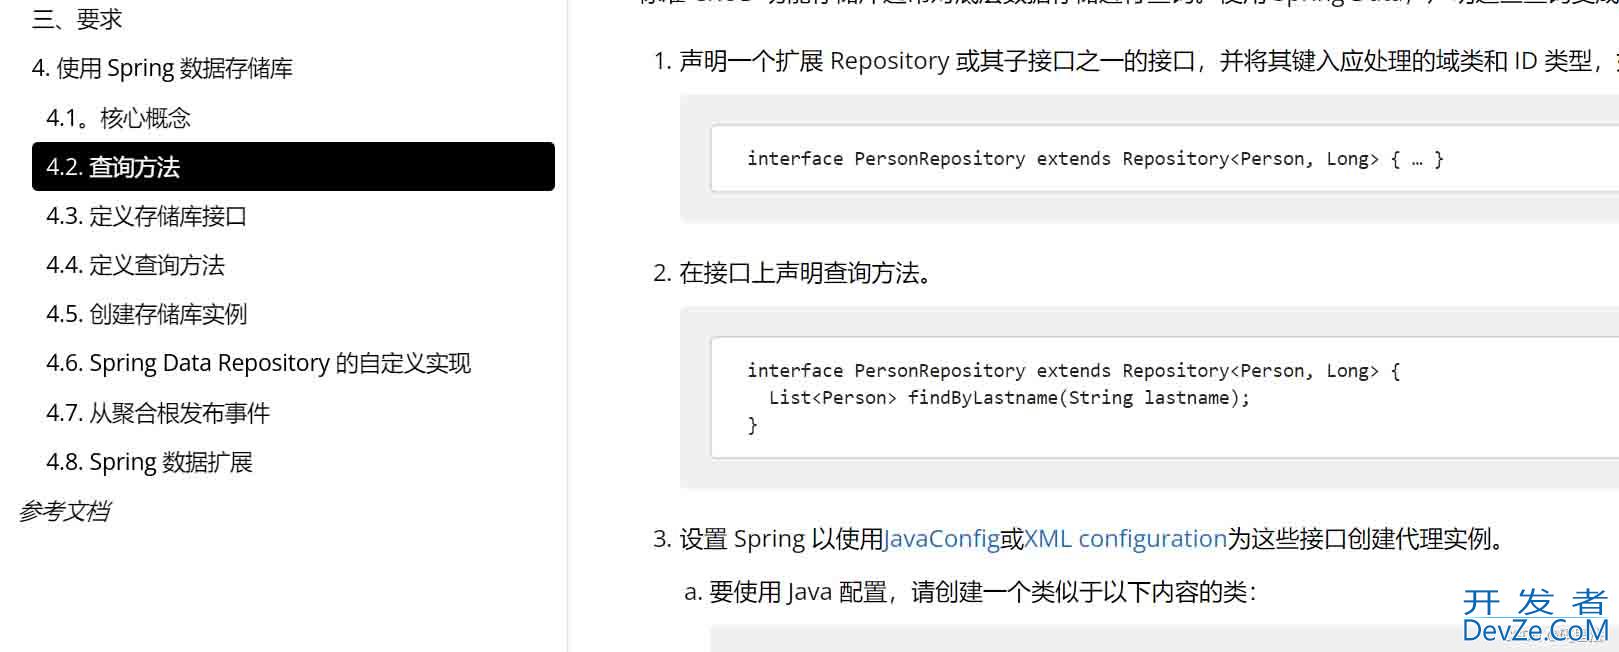
ElasticsearchRestTemplate
封装的就是High Level REST Client,这是基于HTTP协议的客户端,是ES官方推荐使用的,也是可以使用的,但是要求对ES的DSL语句熟悉,方便自己做复杂的增删改查。
不同方式演示
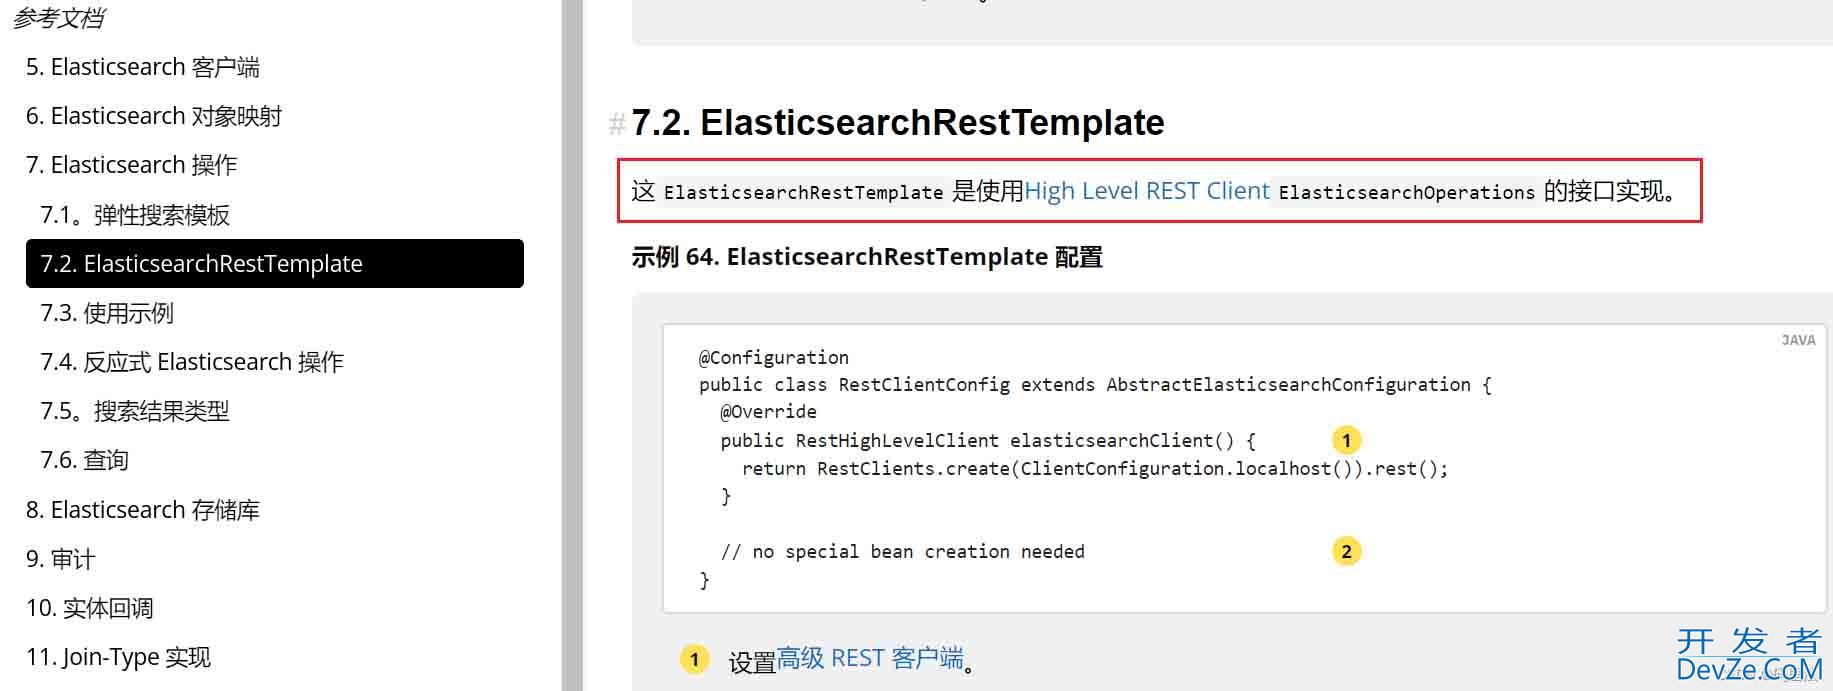
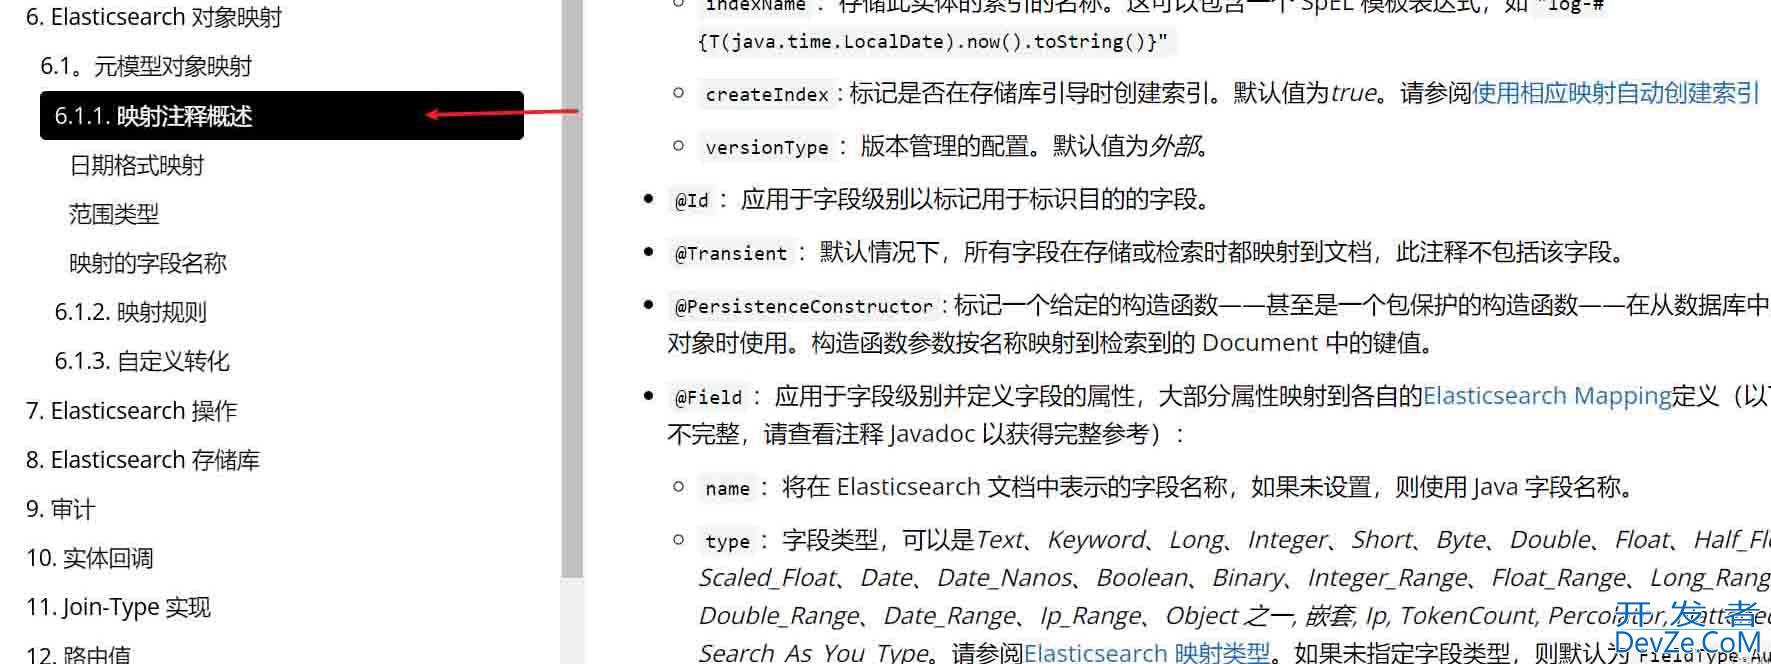
首先需要搞清楚映射关系,参考官方文档这部分,内容过多,就不一一写了。
简单看一下
注解:@Document用来声明Java对象与ElasticSearch索引的关系
indexName索引名称(是字母的话必须是小写字母)type索引类型shards主分区数量,默认5replicas副本分区数量,默认1createIndex索引不存在时,是否自动创建索引,默认true 不建议自动创建索引(自动创建的索引 是按着默认类型和默认分词器)
注解:@Id 表示索引的主键
注解:@Field 用来描述字段的ES数据类型,是否分词等配置,等于Mapping描述开发者_JS学习
index设置字段是否索引,默认是true,如果是false则该字段不能被查询store标记原始字段值是否应该存储在 Elasticsearch 中,默认值为false,以便于快速检索。虽然store占用磁盘空间,但是减少了计算。type数据类型(text、keyword、date、object、geo等)analyzer对字段使用分词器,注意一般如果要使用分词器,字段的type一般是text。format定义日期时间格式
注解:@CompletionField 定义关键词索引 要完成补全搜索
analyzer对字段使用分词器,注意一般如果要使用分词器,字段的type一般是text。searchAnalyzer显示指定搜索时分词器,默认是和索引是同一个,保证分词的一致性。maxInputLength设置单个输入的长度,默认为50 UTF-16 代码点
集成先决配置
依赖包
<dependency>
    <groupId>org.springframework.boot</groupId>
     <artifactId>spring-boot-starter-data-elasticsearch</artifactId>
 </dependency>
yml简单配置
server:
  port: 8082
spring:
  elasticsearch:
    rest:
      uris: 192.168.25.131:9200
实体类
@Data
@AllArgsConstructor
@NoArgsConstructor
//indexName名字如果是字母那么必须是小写字母
@Document(indexName = "student")
public class Student {

    @Id
    @Field(store = true, type = FieldType.Keyword)
    private String sId;

    @Field(store = true, type = FieldType.Keyword)
    private String sName;

    @Field(store = true, type = FieldType.Text, analyzer = "ik_smart")
    //Text可以分词 ik_smart=粗粒度分词 ik_max_word 为细粒度分词
    private String sAddress;

    @Field(index = false, store = true, type = FieldType.Integer)
    private Integer sAge;

    @Field(index = false, store = true, type = FieldType.Date, format = DateFormat.basic_date_time)
    private Date sCreatephpTime;

    @Field(type = FieldType.Keyword)
    private String[] sCourseList; //数组类型 由数组中第一个非空值决定(这里数组和集合一个意思了)

    @Field(type = FieldType.Keyword)
    private List<String> sColorList; //集合类型 由数组中第一个非空值决定

}
Spring Data Elasticsearch方式
先看文档了解一下定义接口方法的规则吧,前边说过,这种方式就是类似JPA和Mybatisplus的方式,所以不难理解哈。
定义mapper
/**
 * @author: zhouwenjie
 * @description:
 php* @create: 2022-05-12 17:37
 * ElasticsearchRepository<T, ID> T:实体类泛型,ID:实体类主键类型
 **/
public interface StudentMapper extends ElasticsearchRepository<Stu编程客栈dent, String> {
}
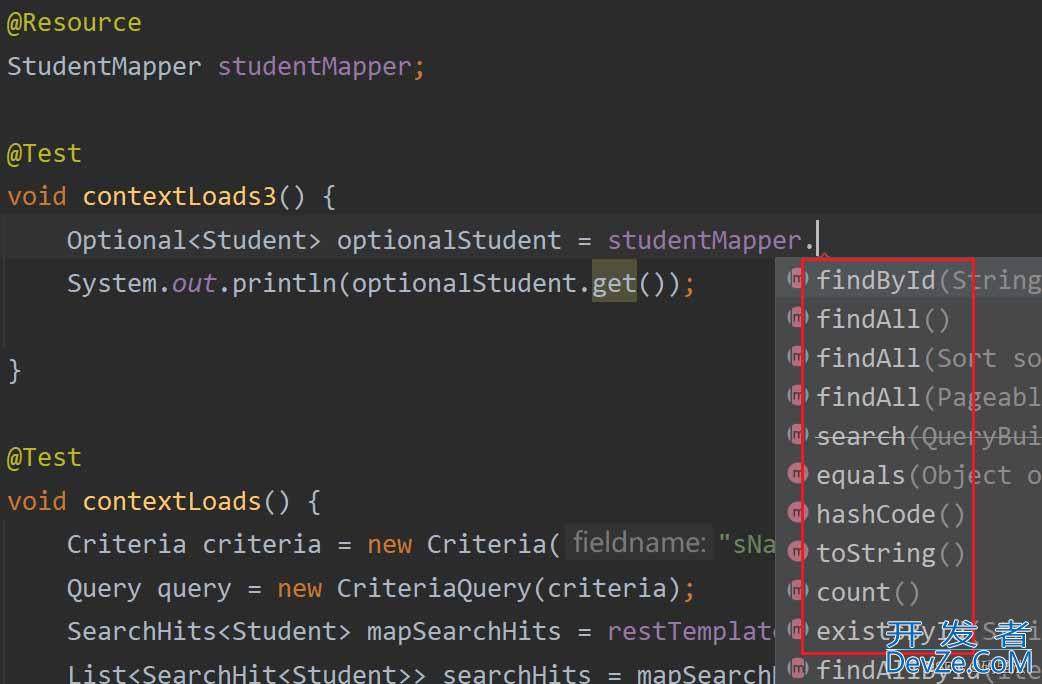
使用es自带的一些增删改查方法
如下图,可以看到ElasticsearchRepository本身自带了一些简单curd方法。
测试
@Resource
    StudentMapper studentMapper;

    @Test
    void contextLoads3() {
        Optional<Student> optionalStudent = studentMapper.findById("2");
        System.out.println(optionalStudent.get());

    }
使用自定义的方法
规则参考官网的这部分
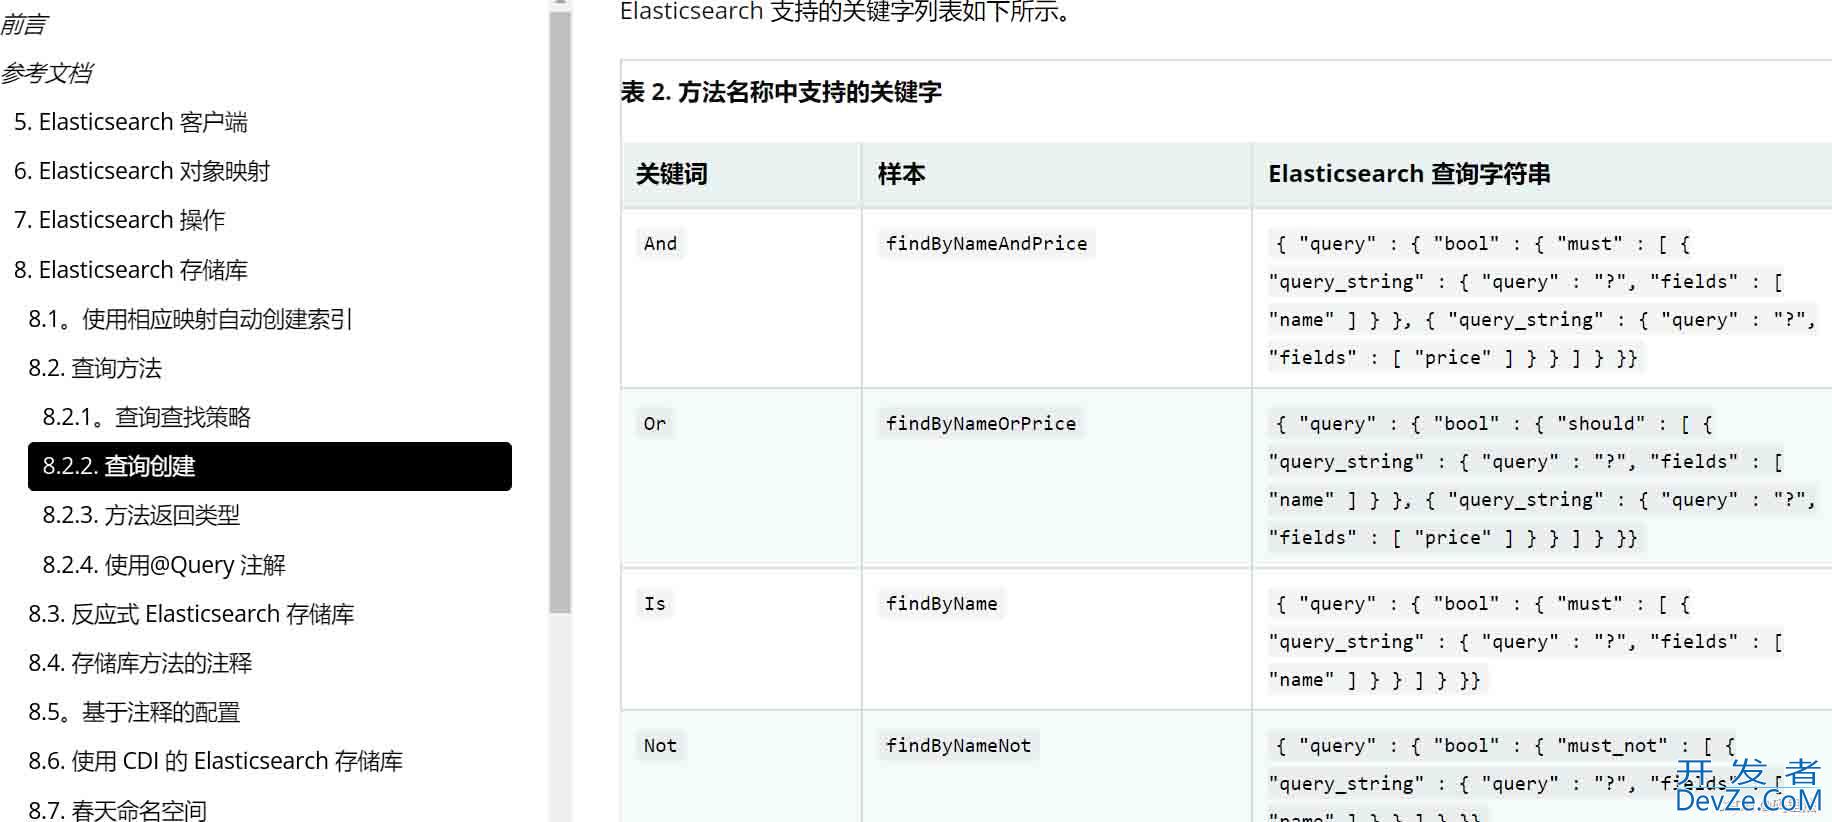
自定义方法
/**
 * @author: zhouwenjie
 * @description:
 * @create: 2022-05-12 17:37
 * ElasticsearchRepository<T, ID> T:实体类泛型,ID:实体类主键类型
 **/
public interface StudentMapper extends ElasticsearchRepository<Stujavascriptdent, String> {
	//提示方法名SName,但是s是小写sName才可以
    List<Student> findStudentBysName(String name);
}
测试
@Test
    void contextLoads3() {
        List<Student> students = studentMapper.findStudentBysName("fff");
        System.out.println(students);
    }
好了,测试到此为止,更多需求可以参照官方文档自行实现。
ElasticsearchRestTemplate方式
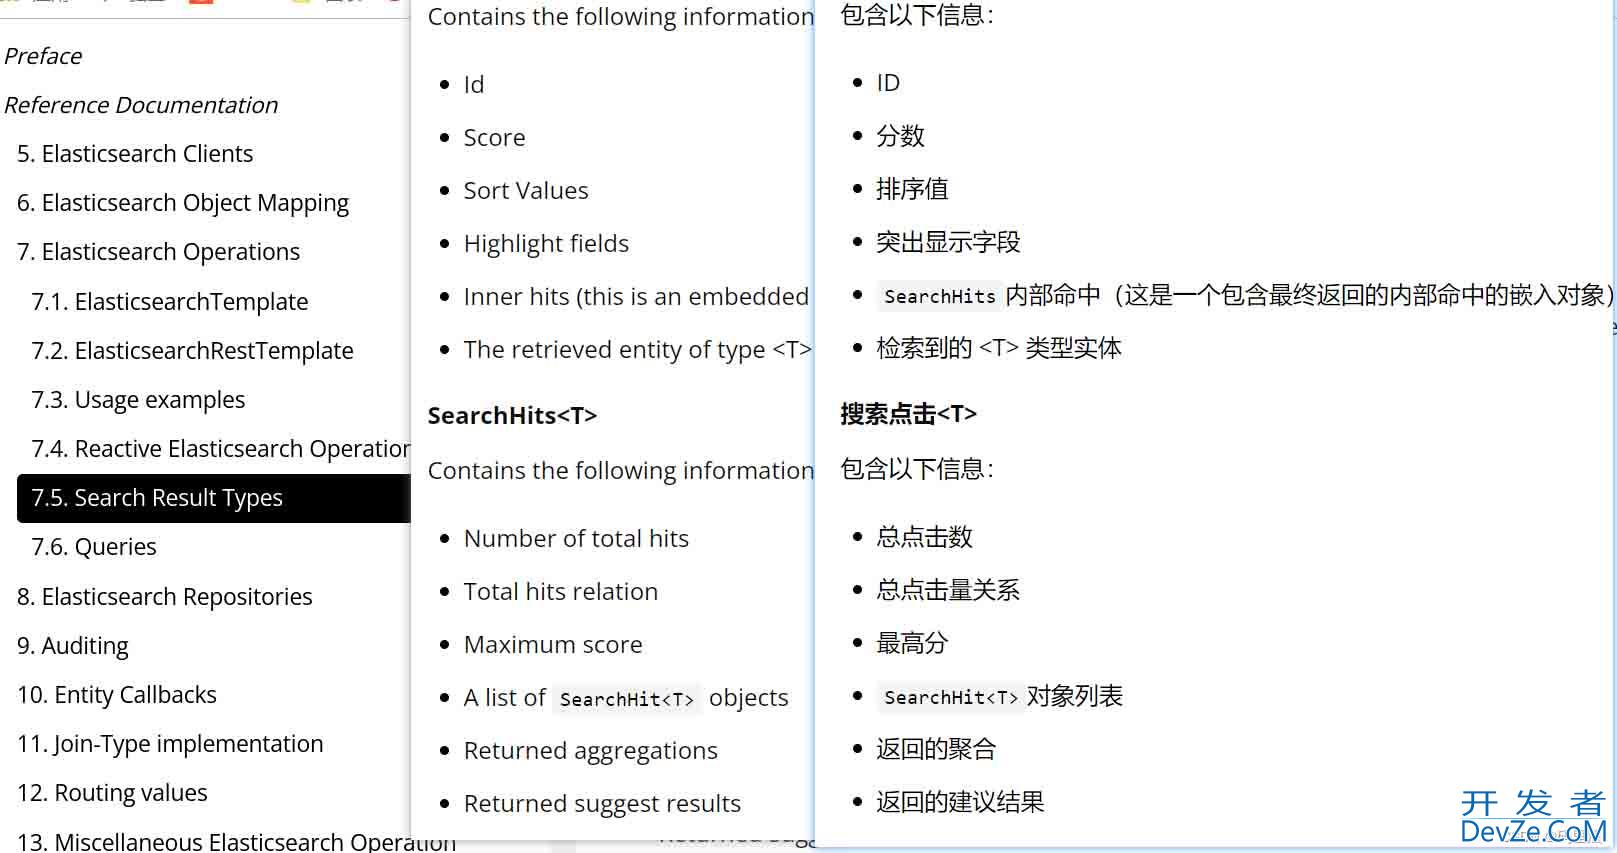
返回结果,参照官方说明:
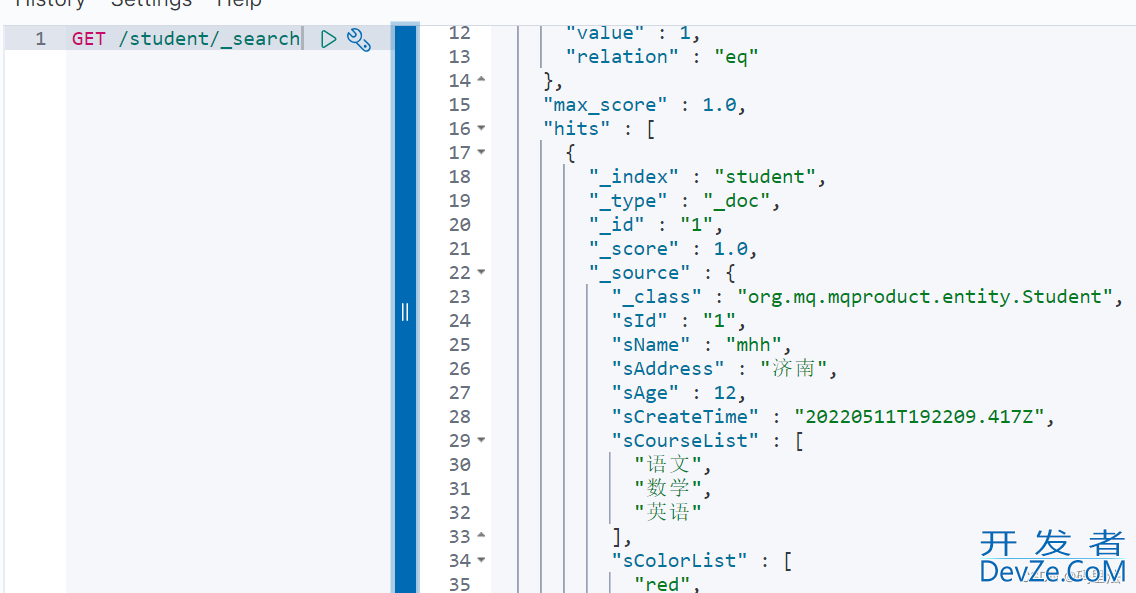
添加
@Test
void contextLoads2() {
    List<String> colorList = new ArrayList<>();//颜色
    colorList.add("red");
    colorList.add("white");
    colorList.add("black");
    Student student = new Student("1", "mhh", "济南", 12, new Date(), new String[]{"语文", "数学", "英语"}, colorList);
    Student save = restTemplate.save(student);
    System.out.println(save);
}
查询
@Test
    void contextLoads() {
        Criteria criteria = new Criteria("sName").is("mhh").and("sAddress").is("济南");
        Query query = new CriteriaQuery(criteria);
        SearchHits<Student> mapSearchHits = restTemplate.search(query, Student.class, IndexCoordinates.of("student"));
        List<SearchHit<Student>> searchHits = mapSearchHits.getSearchHits();
        for (SearchHit<Student> searchHit : searchHits) {
            Student student = searchHit.getContent();
            System.out.println(student);
        }
    }
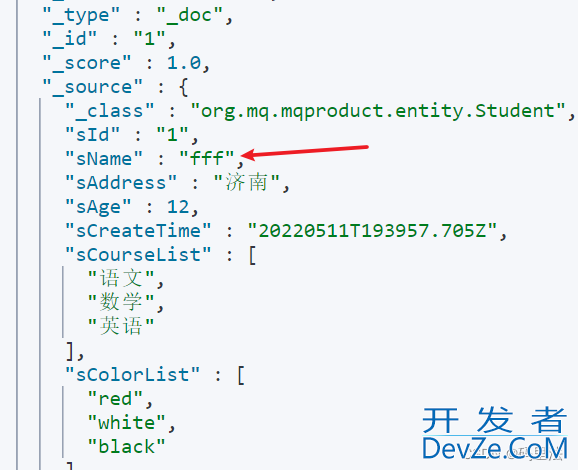
更新
 @Test
    void contextLoads2() {
        HashMap<String, Object> map = new HashMap<>();
        map.put("sName","fff");
        UpdateQuery.Builder builder = UpdateQuery.builder("1").withDocument(Document.from(map));
        UpdateResponse update = restTemplate.update(builder.build(), IndexCoordinates.of("student"));
        System.out.println(update);
    }
删除
 @Test
    void contextLoads2() {
        String delete = restTemplate.delete("1",IndexCoordinates.of("student"));
        System.out.println(delete);
    }
这些演示都是最简单的,根据实际情况推荐大家去官网查询更多复杂用法。
总结
以上为个人经验,希望能给大家一个参考,也希望大家多多支持我们。


 加载中,请稍侯......
精彩评论