Ubuntu系统下如何在VScode配置OpenCV(C++)环境(.json文件)
目录
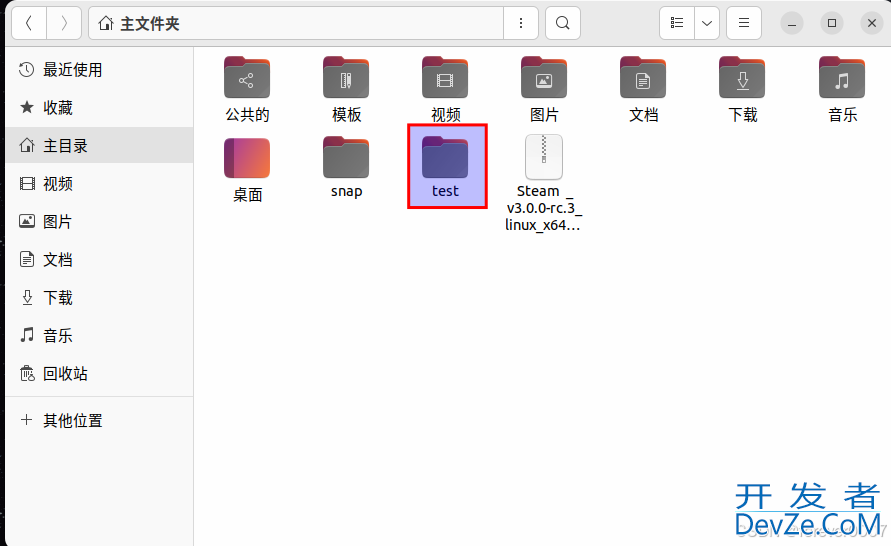
- 创建一个test文件,用VScode打开
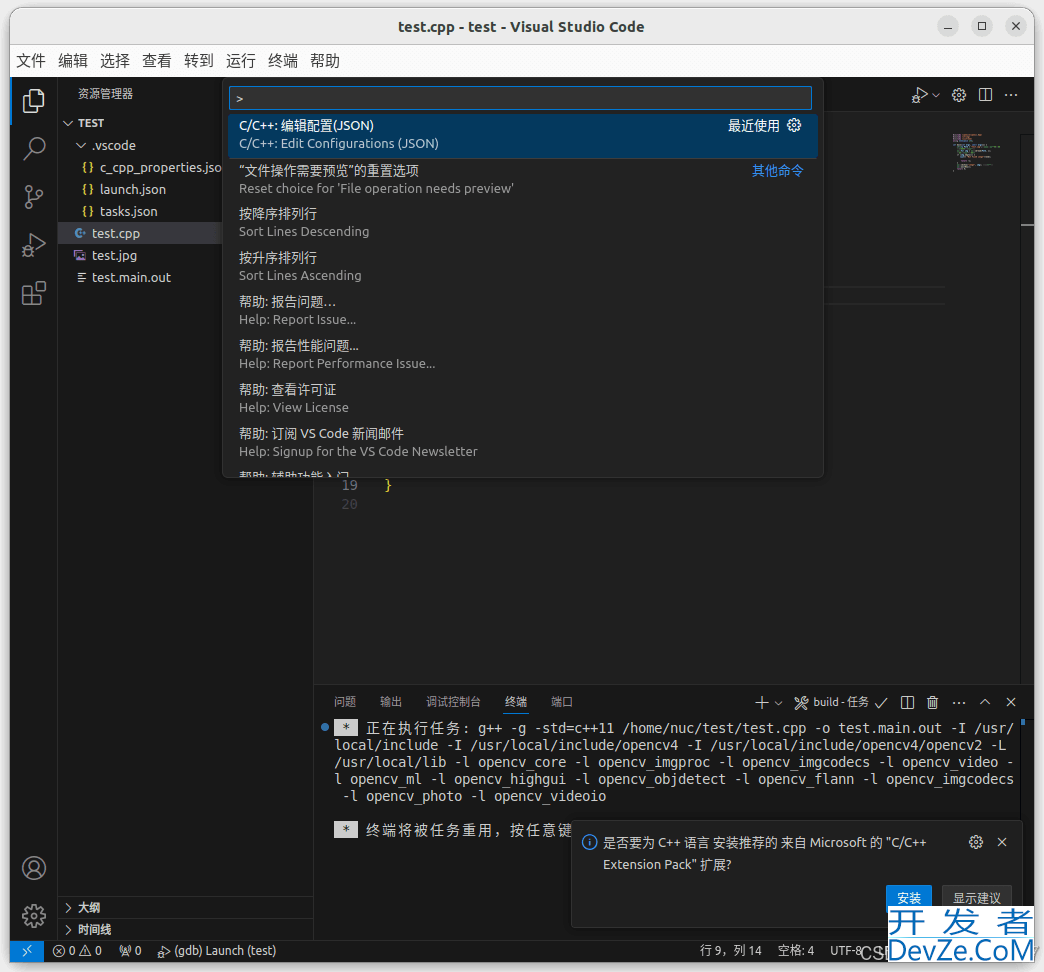
- (1)按住ctrl+shift+P搜索launch.json,点击打开即可
- (2)按住ctrl+shift+P 打开第一个
- (1)、launch.json文件的配置
- (2)、tasks.json文件
- (3)、c_cpp_properties.json文件
- (4)、测试
- 总结
创建一个tesandroidt文件,用VScode打开

(1)按住ctrl+shift+P搜索launch.json,点击打开即可
(2)按住ctrl+shift+P 打开第一个

(1)、launch.json文件的配置
{
    // Use IntelliSense to learn about possible attributes.
    // Hover to view descriptions of existing attributes.
    // For more information, visit: https://go.microsoft.com/fwlink/?linkid=830387
    "version": "0.2.0",
    "configurations": [
        {
            "name": "g++ - Build and debug active file",
            "type": "cppdbg",
            "request": "launch",
            "program": "${fileDirname}/${fileBasenameNoExtension}", //程序文件路径
            "args": [], //程序运行需传入的参数
            "stopAtEntry": false,
            "cwd": "${fileDirname}",
            "environment": [],
            "externalConsole": false, //运行时是否显示控制台窗口
            "MIMode": "gdb",
            "setupCommands": [
                {
                    "description": "Enable pretty-printing for gdb",
                    "text": "-enable-pretty-printing",
                    "ignoreFailures": true
                }
            ],
            "preLaunchtask": "C/C++: g++ build active file",
            "miDebuggerPath": "/usr/bin/gdb"
        }
    ]
}
(2)、tasks.json文件
{
    "tasks": [
        {
            "type": "cppbuild",
            "label": "C/C++: g++ build active file", /* 与launch.json文件里的preLaunchTask的内容保持一致 */
            "command": "/usr/bin/g++",
            "args": [
                "-std=c++11",
                "-g",
                //"${file}",   /* 编译单个文件 */
                "${fileDirname}/*.cpp", /* 编译多个文件 */
                "-o",
                "${fileDirname}/${fileBasenameNoExtension}", /* 输出文件路径 */
                /* 项目所需的头文件路径 */
                "-I",
                "${workspaceFolder}/",
        nLGUCUroBj        "-I",
                "/usr/local/include/",
                "-I",
                "/usr/local/include/opencv4/",
                "-I",
                "/usr/local/include/opencv4/opencv2",
                /* 项目所需的库文件路径 */
                "-L",
                "/usr/local/lib",
                /* OpenCV的lib库 */
                "/usr/local/lib/libopencv_*"
            ],
            "options": {
                "cwd": "${fileDirname}"
            },
            "problemMatcher": [
                "$gcc"
            ],
            "group": {
                "kind": "build"编程客栈,
                "isDefault": true
            },
            "detail": "Task generated by Debuggewww.devze.comr."
        }
    ],
    "version": "2.0.0"
}
(3)、c_cpp_properties.json文件
{
    "configurations": [
        {
            "name": "linux",
            "includePath": [
                "${workspaceFolder}/**",
                "/usr/local/include/opencv4",编程客栈
                "/usr/include/**"
            ],
            "defines": [],
            "compilerPath": "/usr/bin/gcc",
            "cStandard": "gnu11",
            "cppStandard": "gnu++14",
            "intelliSenseMode": "linux-gcc-x64",
            "configurationProvider": "ms-vscode.makefile-tools"
        }
    ],
    "version": 4
}
(4)、测试
创建一个test.cpp文件,输入测试代码
#include <opencv2/opencv.hpp>
#include <string>
#include <IOStream>
using namespace std;

int main(int argc, char* argv[]) {
    string Path = "test.jpg";//此处为的图片路径
    //从文件中读入图像
    cv::Mat img = cv::imread(Path, 1);
    //如果读入图像失败
    if (img.empty()) {
       cout<< "Not Found image"<<endl;

        return -1;
    }
    cv::imshow("image", img); //显示图像
    cv::waitKey();
    return 0;
}
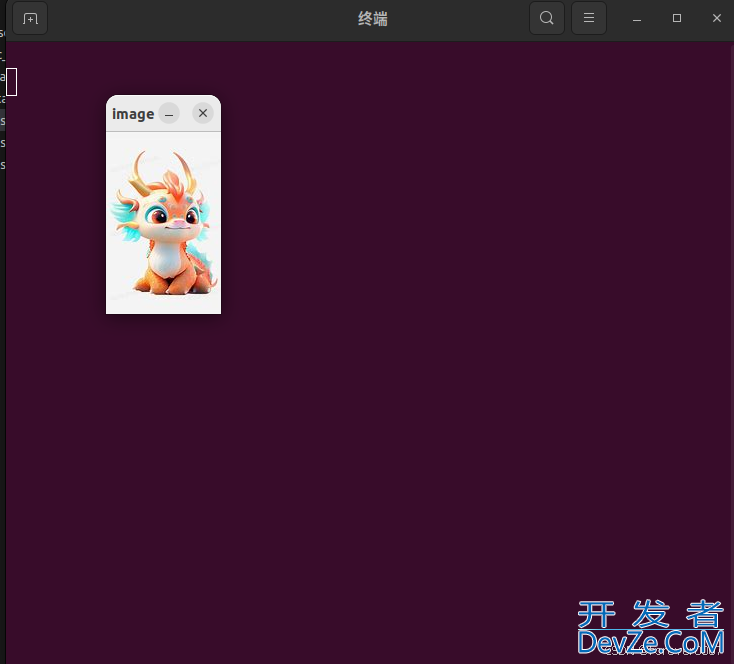
图片显示成功,配置完成!(若成功运行仍有报错显示,重启VScode即可)

总结
到此这篇关于Ubuntu系统下如何在VScode配置OpenCV(C++)环境(.json文件)的文章就介绍到这了,更多相关Ubuntu VScode配置OpenCV环境内容请搜索编程客栈(www.devze.com)以前的文章或继续浏览下面的相关文章希望大家以后多多支持编程客栈(www.devze.com)!


 加载中,请稍侯......
精彩评论