springboot+jersey+tomcat实现跨域方式上传文件到服务器的方式
目录
- 前言
- 准备工作
- 安装完成后后启动
- 上传文件代码
- 结语
前言
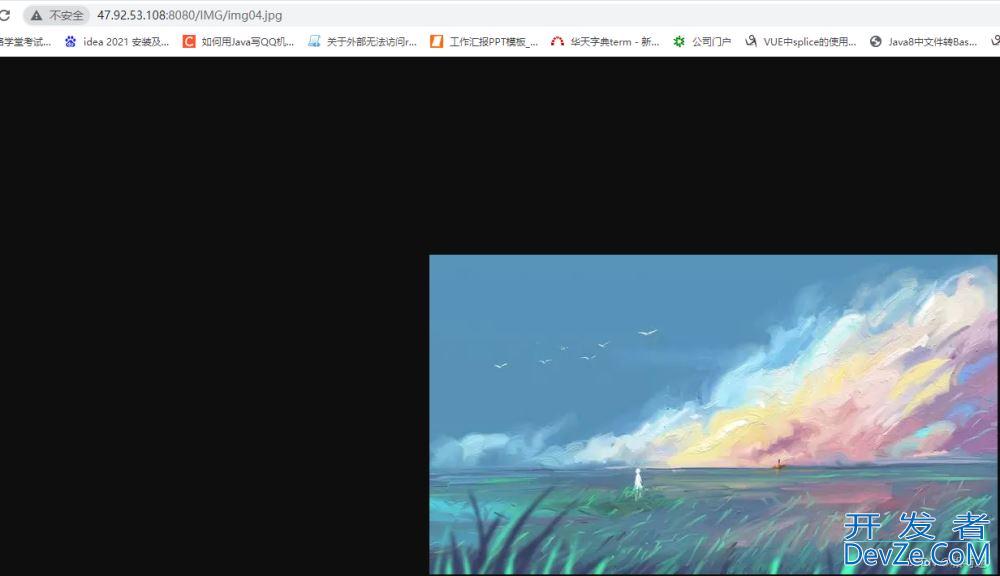
在服务器上,当我们启动了tomcat,就可以以
http:/JGoVxxO/ip地址:8080/文件路径/文件名
的方式,进行访问到我们服务器上处于tomcat的webapps文件夹下的文件
如图:

上面我是用的
http://47.92.53.108:8080/IMG/img04.jpg进行访问文件
于是为了可以往上面加文件,我们有两种方式,一种就是直接复制文件到路径上,
另一种自然是通过代php码的方式,调用接口往上面上传文件
准备工作
首先你得安装tomcat

安装完成后后启动
然后,需要注意的是,为了让我们能够访问文件,那么我们需要做这么一件事,开放服务器的安全策略

为了能够成功上传文件,需要放开tomcat的写权限,
即解决报错returned a response status of 405 Method Not Allowed
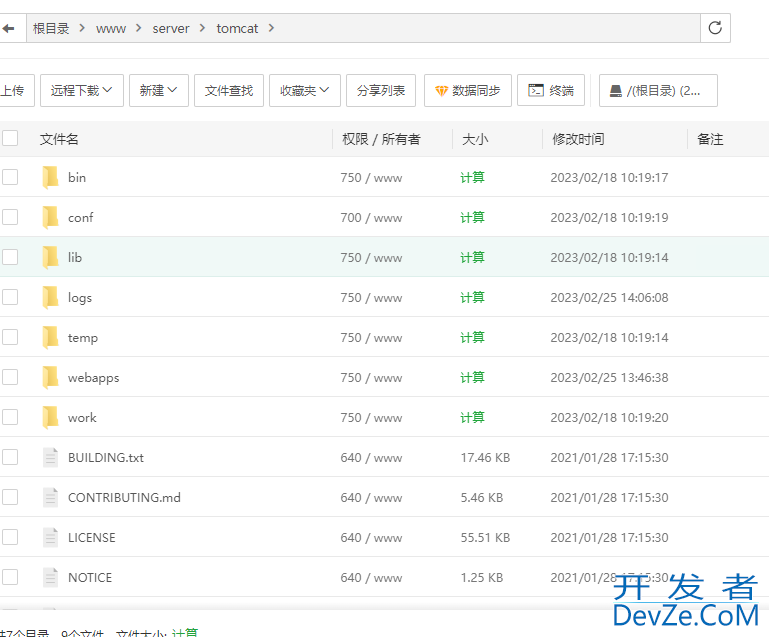
在tomcat的conf文件夹,找到web.XML文件,添加如下代码
<!-- 使得服务器允许文件写入。-->
		<init-param>
            <param-name>readonly</param-name>
            <param-开发者_Python入门value>false</param-value>
        </init-param>
注意,该代码需要在servlet标签内部添加,即:
    <servlet>
        <servlet-name>default</servlet-name>
        <servlet-class>org.apache.catalina.servlets.DefaultServlet</servlet-class>
        <init-param>
            <param-name>debug</param-name>
            <param-value>0</param-value>
        </init-param>
        <init-param>
            <param-name>listings</param-name>
            <param-value>false</param-value>
        </init-param>
        <!-- 使得服务器允许文件写入。-->
		<init-param>
            <param-name>readonly</param-name>
            <param-value>false</param-value>
        </init-param>
        <load-on-startup>1</load-on-startup>
    </servlet>
加完代码记得重启tomcat
上传文件代码
在pom.xml文件加入代码:
        <!--        跨域上传依赖-->
        <dependency>
            <groupId>com.sun.jersey</groupId>
            <artifactId>jersey-core</artifactId>
            <version>1.18.1</version>
        </dependency>
        <dependency>
            <groupId>com.sun.jersey</groupId>
            <artifactId>jersey-client</artifactId>
            <version>1.18.1</version>
        </dependency>
@PostMapping("/upLoadImg")
    @ResponseBody
    public String upLoadImg(MultipartFile myfile){

        String path = "http://服务器公网ip:8080/tomcat的webapps下的文件夹名称/";

/python/为上传到服务器的文件取名,使用UUID防止文件名重复
        String type= myfile.getOriginalFilename().substring(myfile.getOriginalFilename().lastIndexOf("."));
        String filename= UUID.randomUUID().toString()+type;
        try{
//使用Jersey客户端上传文件
            Client client = Client.create();
            WebResource webResource = client.resource(path +"/" + URLEncoder.encode(filename,"utf-8"));
            webResource.put(myfile.getBytes());
            System.out.println("上传成功");
            System.out.println("图片路径==》"+path+filename);
        }catch(Exception ex){
            System.out.println("上传失败");
        }
        return "上传成功";
    }
以上会
如果想保留原本文件名称,参考如下代码有一个需要注意的是:如果随机生成uuid作为文件名以原文件名命名进行上传,文件名不能包含中文否则会报错400
    @PostMapping("/upLoadImg")
    @ResponseBody
    public String doRemoteUpload(@RequestParam("file")MultipartFile file){
        String path = "http://服务器公网ip:8080/tomcat的webapps下的文件夹名称/";
        String filename= file.getOriginalFilename();
        try{
            Client client = Client.create();
            WebResource webResource = client.resource(path +"/" + filename);
            webResource.put(file.getBytes());
        }catch(Exception ex){
            return "上传文件失败:"+path+"/"+filename;
        }
        return "上传文件成功:"+path+"/"+filename;
    }
导入的import为:
import com.sun.jersey.api.client.Client;
import com.sun.jersey.api.client.WebResource;
删除服务器文件
    @GetMapping("/deleteUploadImg")
    @ResponseBody
    public ResultVO deleteUploadImg(){

        String path = "http://服务器公网ip:8080/tomcat的webapps下的文件夹名称/文件名";
        try{
            Client client = Client.create();
            WebResource webResource = client.resource(path);
            webResource.delete();
        }catch(Exception ex){
            return "删除文件失败:"+path+"/"javascript+filename+ ex.getMessage();
        }
        return "删除文件成功:"+path+"/"+filename;
    }
如果需要 删除文件
只需要把文件的路径传入
并且使用WebResource的delete方法即可
结语
以上就是直接通过tomc编程at跨域上传文件到服务器的方式
到此这篇关于springboot+jersey+tomcat实现跨域方式上传文件到服务器的文章就介绍到这了,更多相关springboot跨域方式上传文件到服务器内容请搜索我们以前的文章或继续浏览下面的相关文章希望大家以后多多支持我们!


 加载中,请稍侯......
精彩评论